Building StackChan with an M5Stack CoreS3 Lite: Flashing Firmware from a Web Browser
This article was translated from the Japanese original with AI assistance. It may contain inaccuracies; the Japanese original is authoritative.
This is the second article in my series on building StackChan with an M5Stack CoreS3 Lite.
In the previous article, I covered how to assemble StackChan using the CoreS3 Lite. This time, I will explain how to flash firmware to the assembled StackChan from a web browser.
StackChan Software
The standard StackChan software is available from the GitHub repository.
There are two main ways to flash the software:
-
Flashing from a web browser
- No development environment setup is required
- Only the provided sample firmware can be flashed
-
Flashing through the Moddable SDK
- Development environment setup is required
- You can flash your own programs
This article covers the first method: flashing the firmware from a web browser.
Test Environment
- Windows 11 (25H2)
- Google Chrome (149.0.7827.201)
- StackChan built with an M5Stack CoreS3 Lite and SG90 servos
Flashing the Firmware
1. Connect StackChan to the PC
First, connect StackChan to the PC using a USB cable.
On Windows, open Device Manager and confirm that the device is recognized as a COM port.
When it is recognized correctly, you should see entries similar to the following:
- USB Serial Device
- USB JTAG/serial debug unit
- COM3, COM4, COM5, or another COM port
If the device is not recognized, check that the USB cable supports data transfer and that the required USB driver is installed.
USB drivers can be downloaded from the official M5Stack website.
2. Put the M5Stack into Download Mode
On the M5Stack CoreS3 Lite, press and hold the reset button for approximately six seconds.
Confirm that the green LED inside the device lights up.
3. Flash the Firmware
- Open the Flash firmware page.
-
Select the device.
- Since the firmware is being flashed to an M5Stack CoreS3 Lite, select
M5Stack CoreS3.
- Since the firmware is being flashed to an M5Stack CoreS3 Lite, select
-
Select
Flash Stack-chan firmware [・_・], and then choose the COM port confirmed in step 1.
- Select
INSTALL STACK-CHAN, followed byINSTALL, to begin flashing the firmware.
- The process is complete when
Installation complete!appears.
Initial Setup
The following settings can be configured over Bluetooth Low Energy (BLE):
- Wi-Fi
- Face
- Servo
- TTS
- AI
1. Open the Setup Screen on StackChan
- Turn on StackChan and tap the screen while the startup screen is displayed.
- Confirm that the
Stack-chan Setupscreen appears.
Tapping the screen repeatedly may make it easier to enter the setup screen.
2. Configure StackChan over BLE
- Open the StackChan preferences page.
- Click
Connect Stack-chan with BLE[・_・], and select the device named STK.
- When the configuration screen appears, set the required options.
In this example, I changed the following settings:
-
Set the Wi-Fi SSID and password
- Be careful not to select a 5 GHz Wi-Fi network. I made this mistake once.
-
Change the servo type to
PWM(SG-90)
- Click the
Submitbutton.
The configuration has been saved successfully when the green message Preference set[・_・] appears in the upper-right corner.
How to Use StackChan
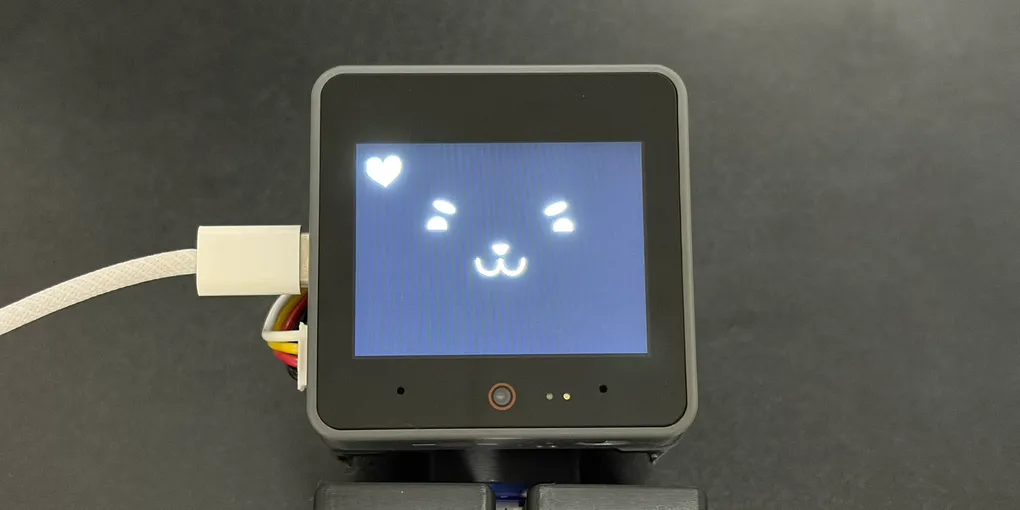
When the M5Stack is powered on, a white screen is displayed for a short time, followed by StackChan’s face.
If the display remains on the white screen and does not change, one or more of the initial settings may be incorrect.
Swipe left on the screen to open a drawer from the right-hand side.
The items in this drawer are MODs included with the default firmware. Select an item to use its corresponding feature.
Conclusion
StackChan is now ready to use.
However, this browser-based method does not allow you to freely modify and flash your own software. In the next article, I will explain how to flash StackChan through the Moddable SDK.