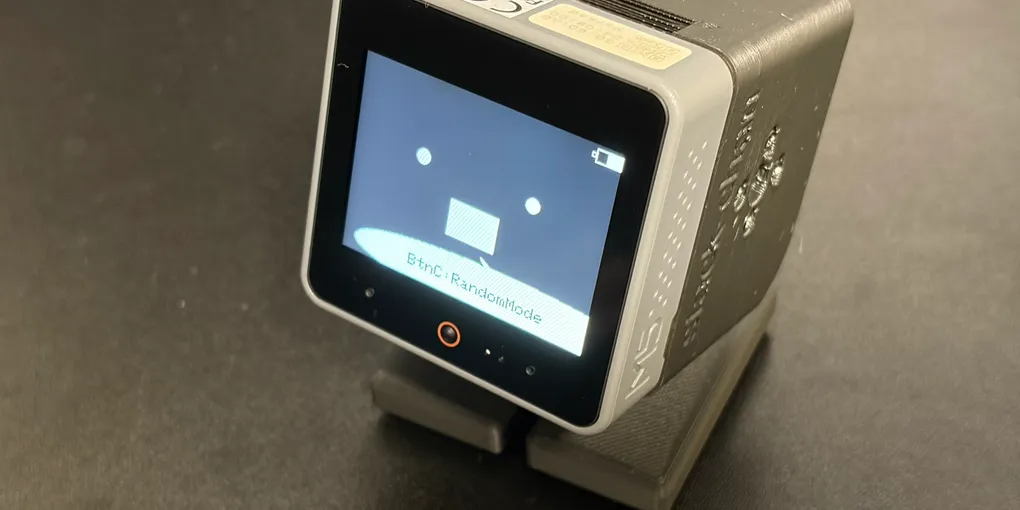
Building StackChan with an M5Stack CoreS3 Lite: Assembly Notes
This article was translated from the Japanese original with AI assistance. It may contain inaccuracies; the Japanese original is authoritative.
What Is StackChan?
StackChan is a super-cute robot built with M5Stack and powered by JavaScript. stack-chan | README_ja.md
I decided to build StackChan after seeing it frequently on social media.
StackChan consists of the physical robot, which is built around an M5Stack device, and the software that runs on it. The robot itself includes an M5Stack device for displaying facial expressions, servo motors for changing the direction of its face, and a case that holds these components. The software handles facial expressions, servo motor control, voice responses, and integration with AI agents.
There are two main ways to build StackChan. The first is to use publicly available community designs and create the exterior parts with a 3D printer. (Stack-chan community) The second is to use the official StackChan Kit released by M5Stack around spring 2026.
For this build, I used an M5Stack CoreS3 Lite that I already had. Since there was relatively little information available about assembling StackChan with the CoreS3 Lite, this article summarizes the parts I used and the assembly process I followed.
Parts and Tools
- M5Stack CoreS3 Lite (purchased from Switch Science for ¥9,460)
- 【PLA+】【Ver.2.5】StackChan Takao Edition Case Set for SG90 Servos (⑤ Matte Black with Takao_Base) (purchased from Takao’s BOOTH store for ¥3,600)
- SG90 Micro Servo ×2 (purchased from Akizuki Denshi for ¥1,300)
The Takao Edition case set included the following items:
-
3D-printed parts
- Shell (Ver.2.5)
- Bracket (Ver.2.5)
- Foot
- Ear HAT
-
Screws and bolts
- M1.7 screws ×8, including 2 spares
- M3 × 20 mm bolts ×2
- M3 × 18 mm bolts ×2
- M3 × 16 mm bolts ×2
- M2 × 4 mm bolts ×2, including 1 spare
-
Other items
- Stack-chan_Takao_Base
- 10 cm Grove cable
- Anti-slip rubber pads
- Silicone tube
- Hex key for the M2 screws
Each SG90 servo included the following parts:
- Three types of servo horns: cross-shaped, double-sided, and single-sided
- Three screws
Assembly Instructions
StackChan consists of three main sections: (i) the shell, (ii) the drive unit, and (iii) the foot.
1. Assembling the (i) Shell
- Cut off the long sections on both sides of a cross-shaped servo horn. Judging from the completed assembly, these sections did not appear likely to interfere with anything, so cutting them off may not be necessary.
- Position the cross-shaped servo horn on the inside of the shell’s right side, with its cylindrical section facing inward, and secure it using four M1.7 screws included with the case.
- Remove the four screws from the corners of the back panel of the M5Stack CoreS3 Lite.
- Fit the back of the M5Stack CoreS3 Lite into the shell. Secure the upper section with two M3 × 18 mm bolts and the lower section with two M3 × 20 mm bolts.
2. Assembling the (ii) Drive Unit
- Insert the Stack-chan_Takao_Base into the bracket so that its USB Type-C port and toggle switch protrude through the corresponding openings.
- Secure the Takao_Base to the bracket using the two M2 screws included with the case.
- Insert one SG90 servo into the opening in the bracket. If inserted directly, the servo cable may catch on the edge of the opening. Gently bend the cable near its base and feed it through the opening first to make insertion easier.
- Pass the cable of the inserted servo through the oval opening in the bracket and wrap it around the bracket approximately twice.
- Wrap the cable of the second servo around the bracket in the same way.
- Secure both servos using the screws included with the servos.
- Connect the cable of the first servo to the 3-pin header farther away from the white socket on the Stack-chan_Takao_Base. When viewed from the outside, the wire order should be brown, red, and yellow.
- Connect the cable of the second servo to the other 3-pin header in the same way.
3. Assembling the (iii) Foot
- Cut off the long sections on both sides of another cross-shaped servo horn.
- Position the cross-shaped servo horn with its cylindrical section facing upward, and secure it to the foot using four M1.7 screws.
4. Adjusting the Servos
The servos will later be fastened to the servo horns with screws. Before doing so, flash stack-chan-tester to the M5Stack CoreS3 Lite and move the servos to their initial positions.
Flashing stack-chan-tester
The following steps describe the flashing process on Windows 11.
- Install the PlatformIO IDE extension in VS Code.
- Clone the stack-chan-tester repository.
- Click the folder icon at the bottom of VS Code and select
env:m5stack-core3s. - Click the checkmark icon at the bottom of VS Code to verify that the project builds successfully.
- In my environment, the build failed because the intelhex package was not installed. I installed it by running
C:\Users\<username>\.platformio\penv\Scripts\python.exe -m pip install intelhex. - After confirming that the project builds successfully, connect the M5Stack CoreS3 Lite to the PC via USB.
- Press and hold the reset button on the bottom of the M5Stack CoreS3 Lite for approximately six seconds, and confirm that the green LED begins flashing.
- Click the arrow icon at the bottom of VS Code to flash the program.
Adjusting the Servos with stack-chan-tester
- Attach any unused servo horn to the servo.
- Connect the M5Stack CoreS3 Lite and the Stack-chan_Takao_Base using the Grove cable.
- Turn on the M5Stack CoreS3 Lite.
- Tap near the lower-right area of the M5Stack CoreS3 Lite screen to move the servo to its initial position of 90 degrees.
The tester also supports servo offset adjustment and random movement. For more information, refer to the README in the repository.
Note that when using the M5Stack CoreS3 Lite, the lower-left area of the screen corresponds to button A, the center area corresponds to button B, and the lower-right area corresponds to button C.
5. Combining the (i) Shell, (ii) Drive Unit, and (iii) Foot
- Connect the lower servo of the (ii) drive unit to the servo horn on the (iii) foot.
- Secure the connected servo and servo horn using the screw included with the servo.
- Pass the Grove cable through the opening in the shell, and connect it to the M5Stack CoreS3 Lite and the Stack-chan_Takao_Base.
- Join the (i) shell and the (ii) drive unit so that the servo fits into the servo horn inside the shell. It is easier to assemble them by aligning and connecting the servo-horn side first.
- Secure the connected servo and servo horn using the screw included with the servo.
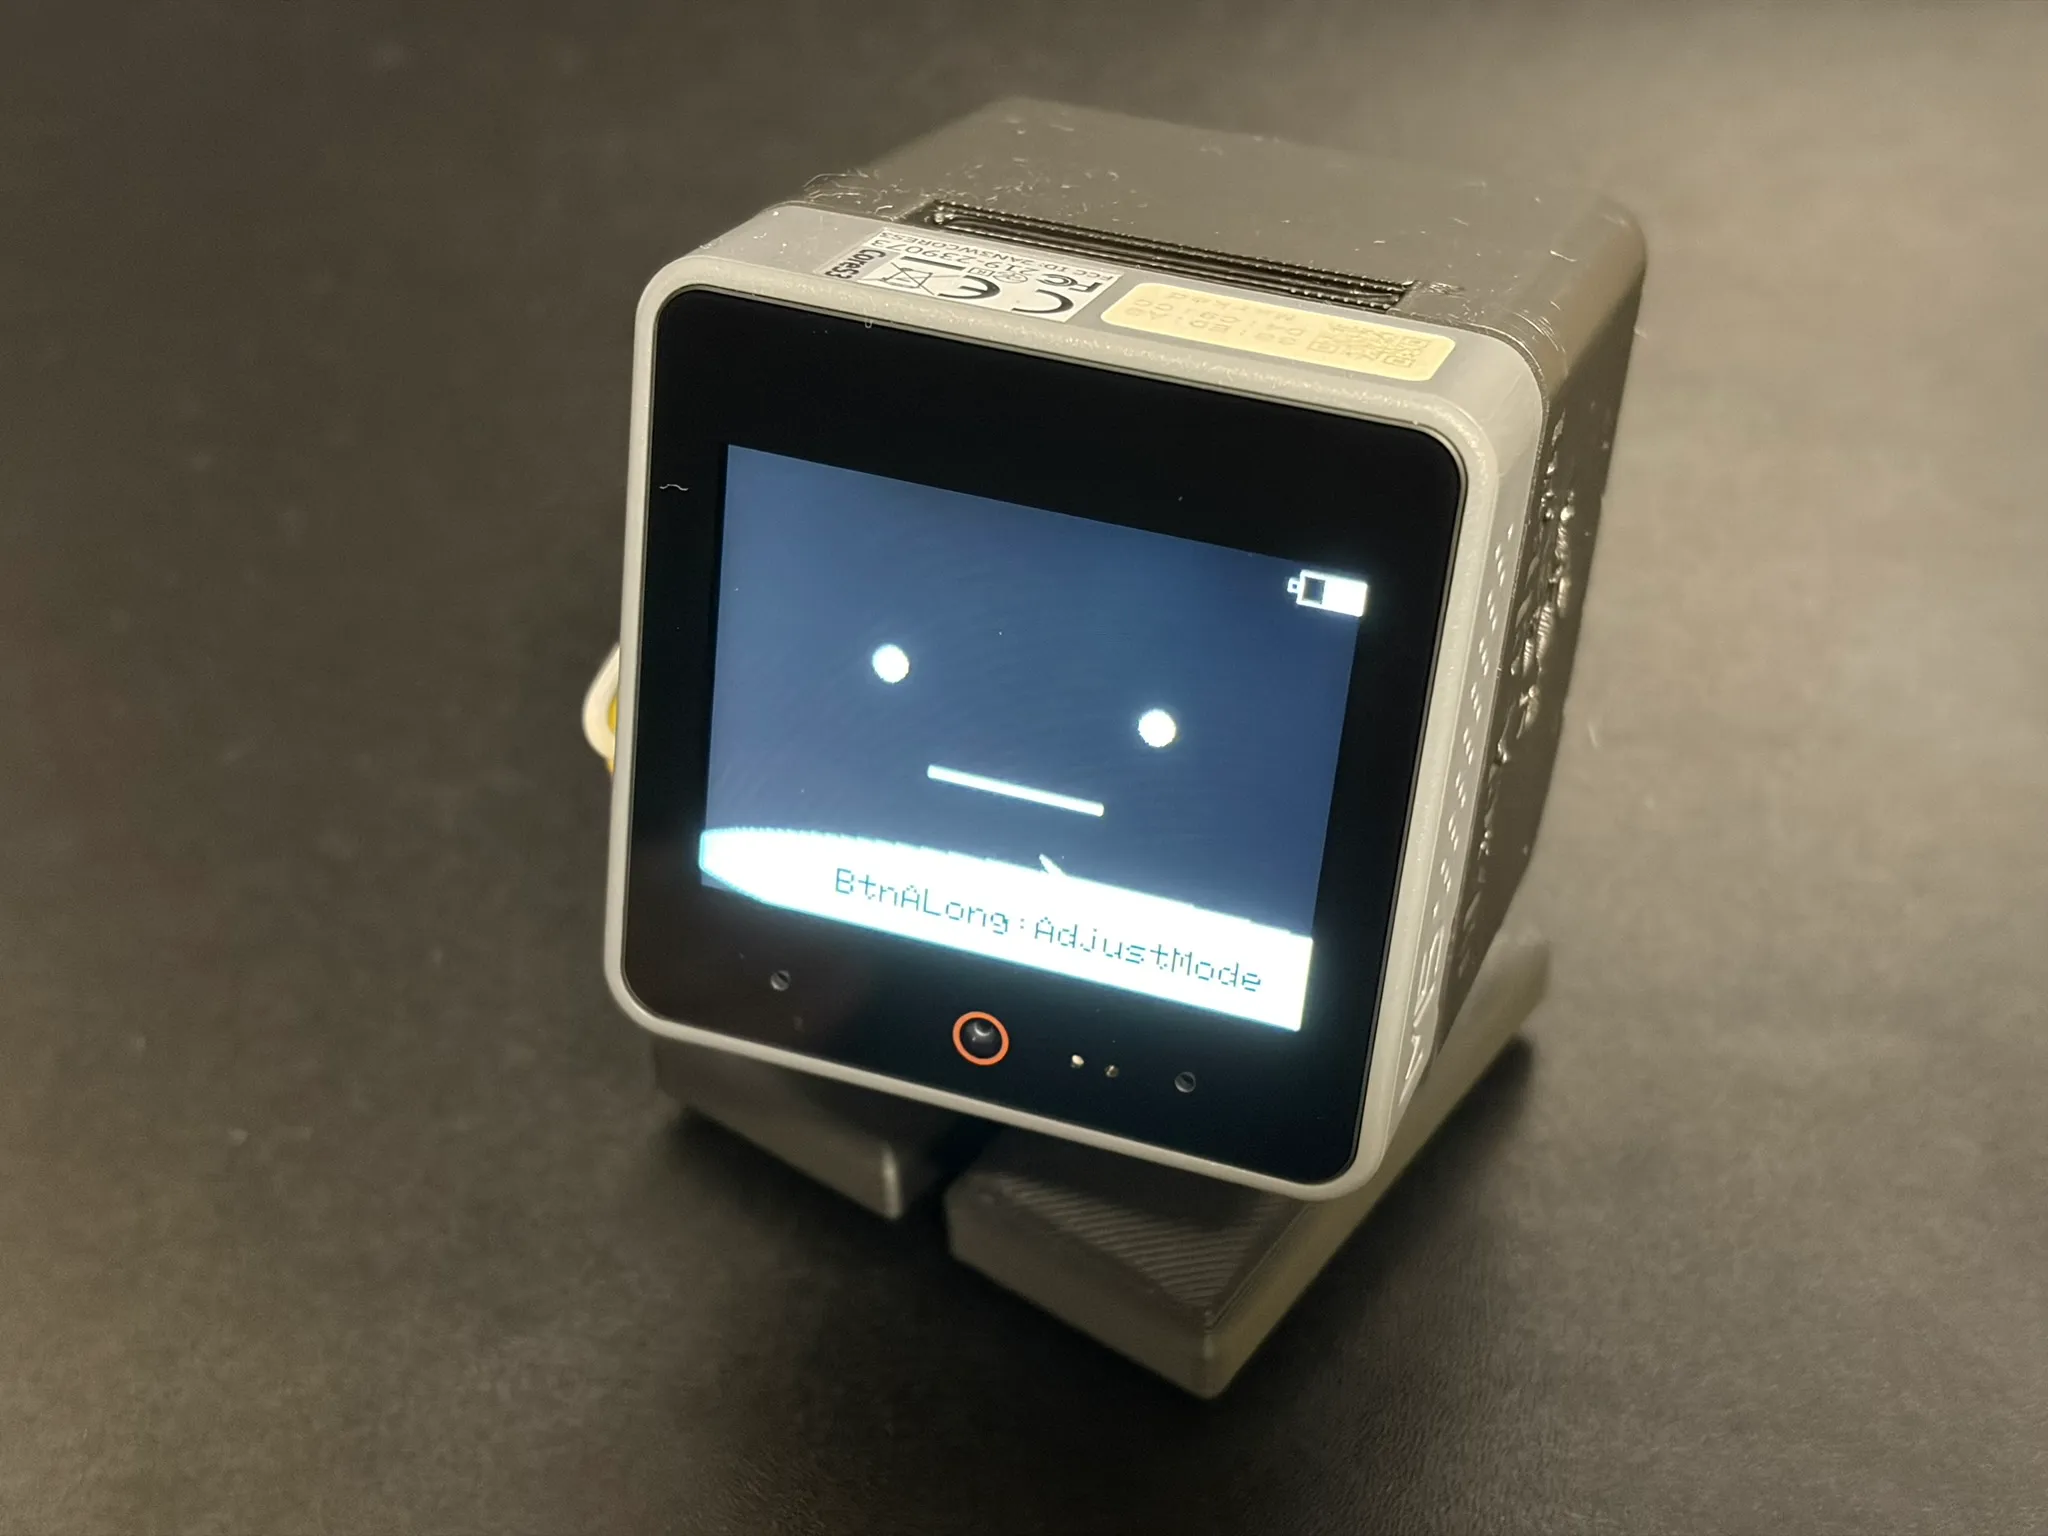
Finished!
Conclusion
This completes the assembly of StackChan. I plan to cover how to flash and set up the StackChan software in a separate article.